I probably put too many hours researching the various modifications people made to their 990. Nevertheless, it allowed me to have a global picture of the bike along with its strengths and problems. I spent quite a bit in those upgrades, but I wanted to set off in peace, knowing that the bike would be reliable.
Safari Tanks:
With a range just over 250km, a stock bike is not meant for long distances. I was convinced I needed a longer range and I had to decide between auxiliary gas tanks of bigger tanks. Even though they were more expensive, the Safari Tanks is the option I chose. They double the stock range and allow me to distribute some of the extra weight on the front wheel as well. I also decided to leave the crash bars at home as they are said to be very tough. For the price, I am not very please with the way they fit though… I had to modify the front cockpit a little.


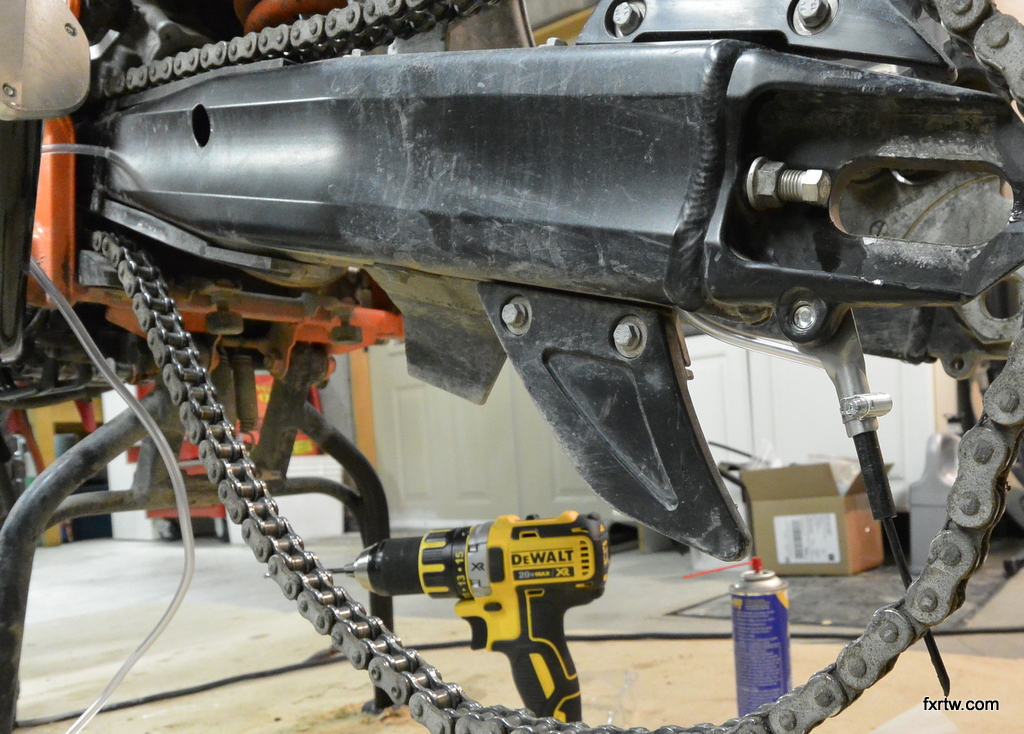
Skid Plate:
Stock skid plate is a molded aluminum plate that is known to fail under impact. I decided to invest into a Touratech skid plate that features a steel subframe.
Battery:
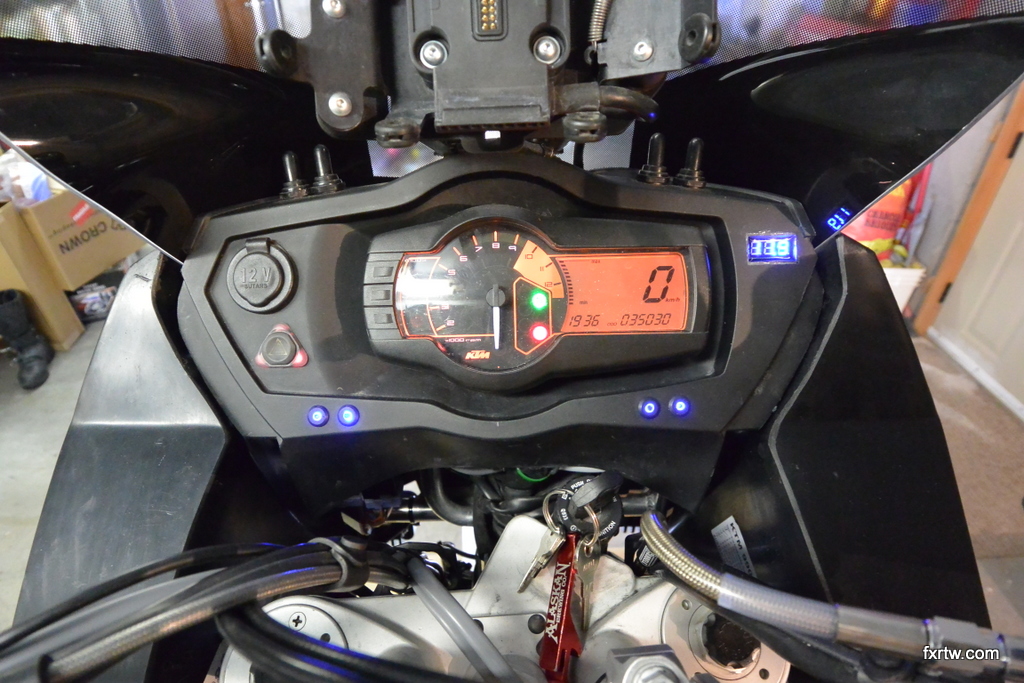
I believed it was a good idea to get a brand new battery before setting off and I went with a Shorai lithium battery. I also installed a digital voltmeter that allows me to monitor how it gets depleted with accessories when I turn them on or just over time.


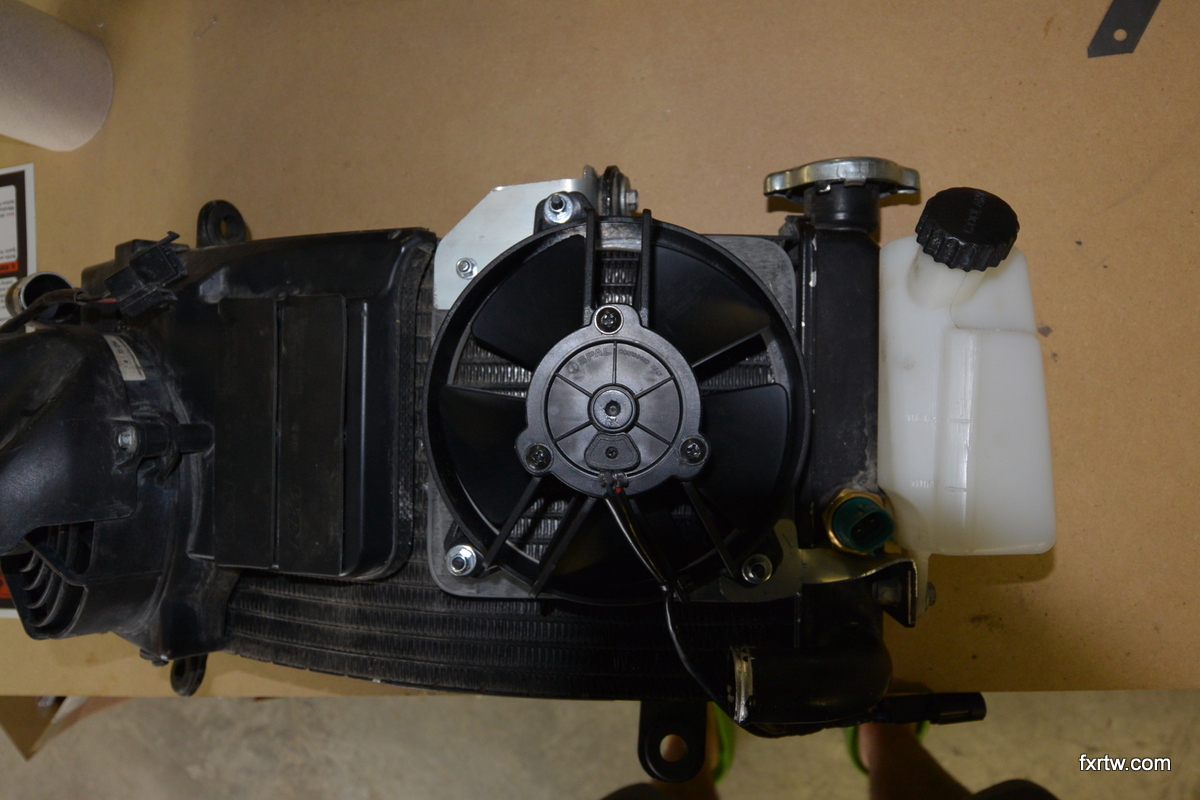
Auxiliary fan:
One of the known issue of this bike is that it gets hot really fast at slow speeds. There is one kit available which adds a 4” fan on the right side of the radiator. I choose to build my own kit with a 5” fan from Spal and a custom bracket. The fan can be switched on via one of my toggle switch on the dashboard. I also replaced the thermostat switch that starts the stock fan at 88C instead of 105C.
Custom aux fan bracket
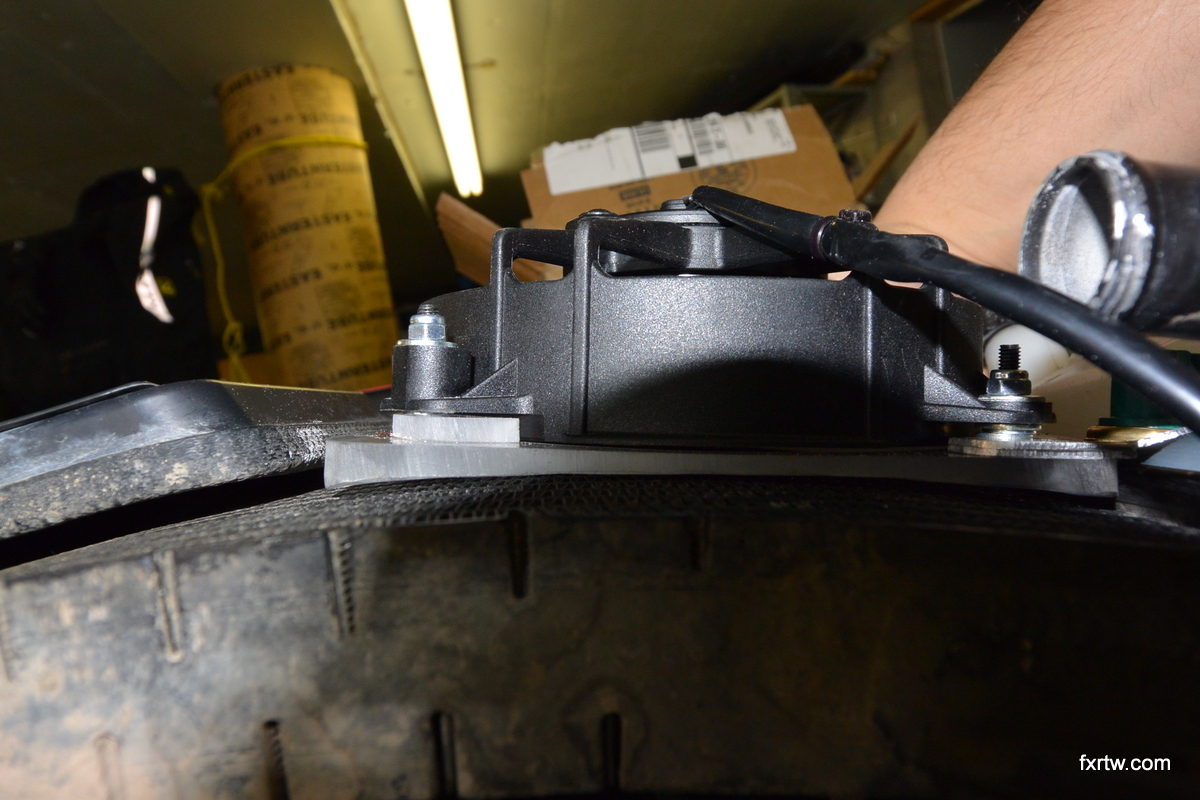
Bracket follows the radiator shape once pushed in

Aux fan installed
Oberon Clutch Slave:
Another known issue was the failure of the stock Magura clutch slave. When I took it off, the seal was worn out and was starting to do weird things. I replaced it with an Oberon unit.

Alternator plug kit:
To check valve tolerances on the cams, you need to rotate the engine to a particular position. To access the crankshaft, you need a 14mm Allen key to unscrew the plastic cap on the alternator cover. I purchased a kit from CJ design that came with an aluminum cap than can be removed with a 10mm socket. It also comes with a 14mm to 10mm socket aluminum adapter.
Throttle Cam:
I found the throttle of the 990 twitchy. I purchased a throttle cam from G2.

Heated grips
Light saver:
Many options are available to preserve the front light. I chose the protective tape from 3M. I had good experiences with other vehicles so I decided to give it a try instead of the bulky steel options.
Canisterectomy/SASectomy:
While I had to remove the evaporative canister for the Safari Tanks, I decided to remove the secondary air system as well. A good guide on how to do it can be found at:
Fuel system:
Another known issue with the 990 is its fuel pump. The small inlet filter gets jammed with crap and the fuel pump gets damaged. To prevent this from happenning I rebuilt the fuel pump. The filter was really dirty when I removed it. I also purchased in tank pre-filters from Pro-Fill Australia. They fit well and are good quality. I hope they will prevent the fuel pump filter to get crammed with dirt. The quick connector on the fuel line had melted so I decided to replace it with a stainless steel version. I also added an in-line stainless steel filter on the fuel line to the injectors.


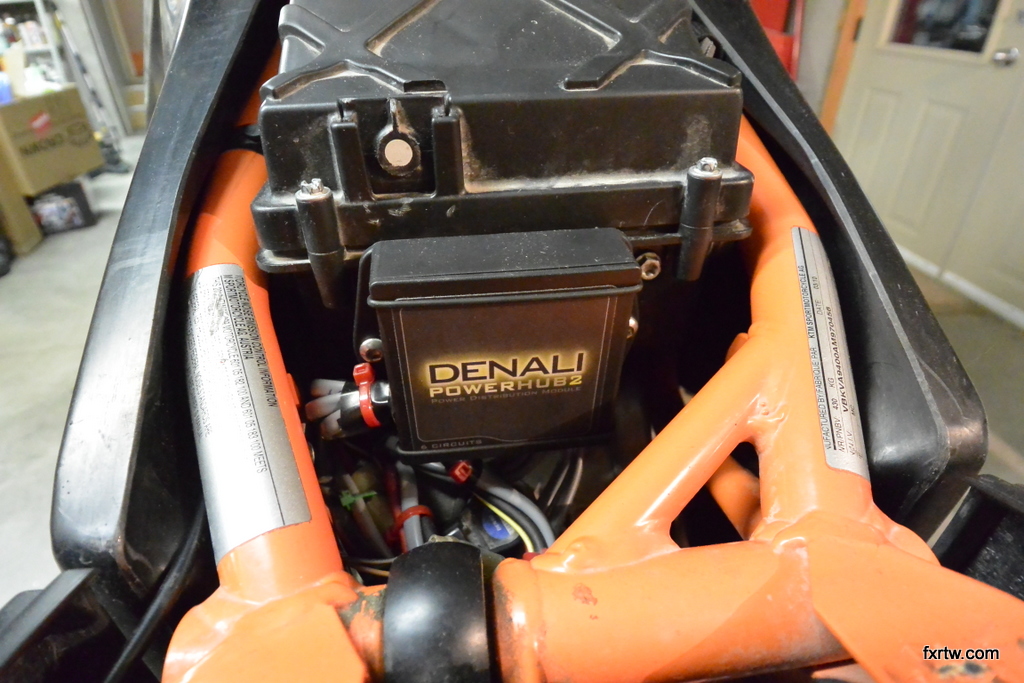
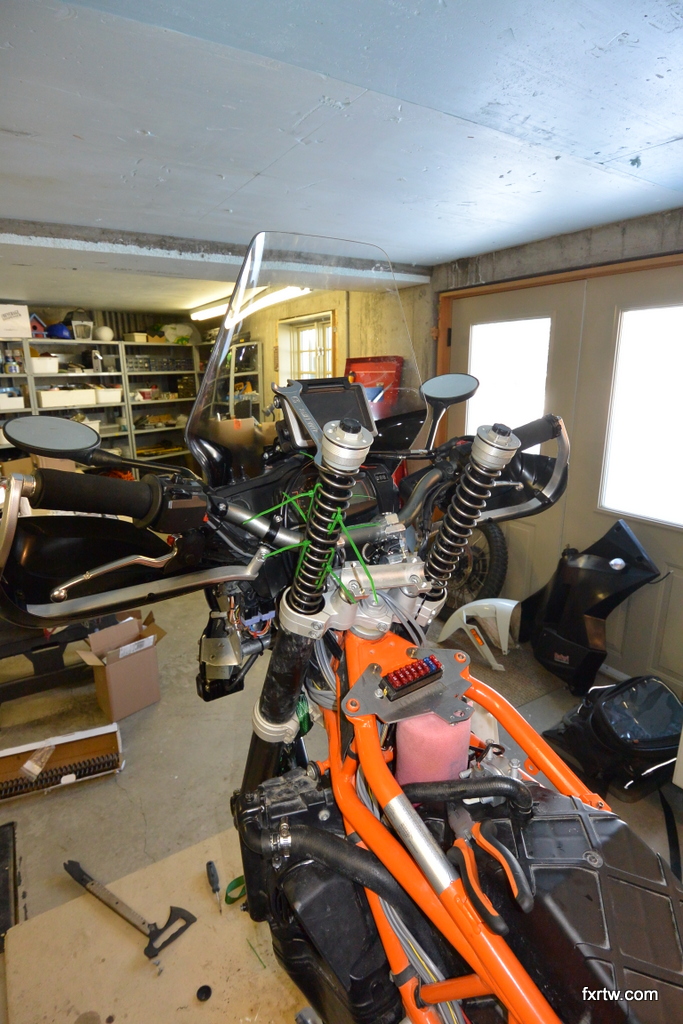
Fuse Block:
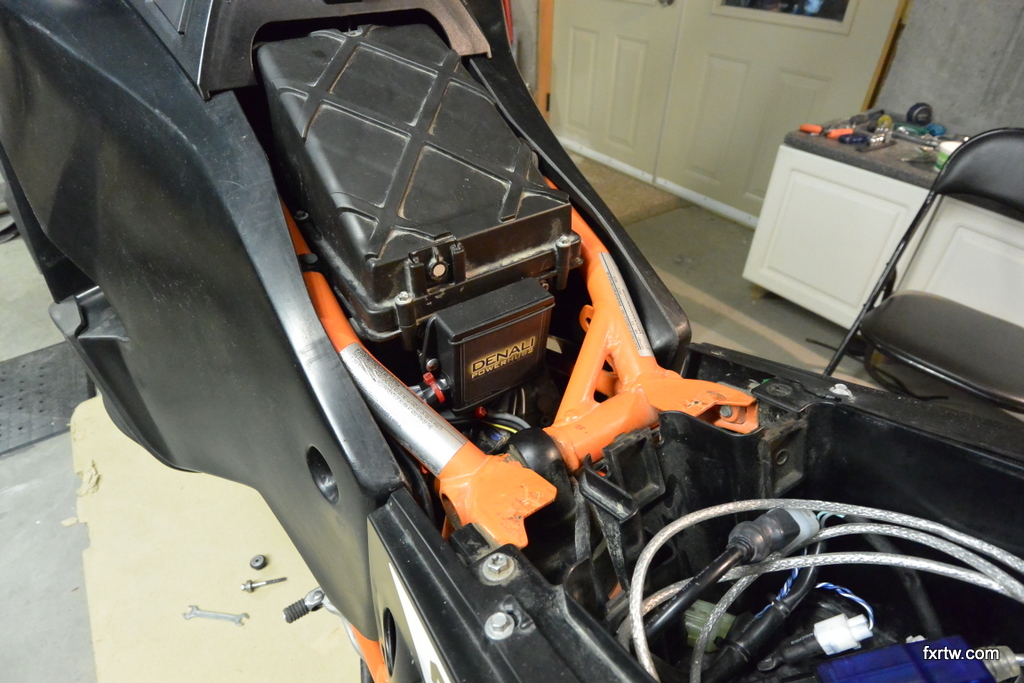
I have many accessories powered by the alternator: GPS, auxiliary lights, heated grips, heated gear, auxiliary fan, camera charger and computer charger. All these need to be fused and they all need to be powered only when the engine is running. That makes a lot of hidden fuses and relays. I chose to purchase a fuse block by Denali that concentrates the fuses together and one main relay switch them all on at the same time.
Scott Oiler:
While this may perceived as a comfort upgrade as it allows me to lubricate my chain without reaching down, I believe it will do a better job than I would have in maintaining the chain lubricated. I was able to run the oil tube through the swingarm, away from branches, rocks, etc. I used one of the evaporative canister outlet port on the air manifold to get engine vacuum.

Scott Oiler
Scott Oiler tube
Sidestand:
The sidestand has been really problematic for some. Being attached directly on the engine case, it can make the case crack if hit against a rock. I installed a relocating kit by Black Dog Cycle Works to prevent this danger. I also removed the sidestand sensor that prevent the engine from starting. Finally, I installed a bigger foot that will work better in soft soil.

Side stand relocating bracket

Shift Spring Upgrade:
I had a few miss shift with the stock spring and decided to install a stiffer one.
Front Springs :
I found the front springs to be very soft and wanted to upgrade to a stiffer set. I built a table with different weight scenarios representing fill level of the tanks and extra weight from luggage and I realized I needed springs around 58 N/mm . I wrote to the guys at CSR Suspension and got outstanding service. Greg and the team there looked at my table and recommended the 60 N/mm springs. They did not have the exact length of springs but supplied me with spacers and they went in really nicely. Thanks guys!
Main lubrication system:
First of all, I purchased a kit from CJ Design that allowed me to drain the oil out of the reservoir without making a huge mess after removing the left tank. The hose goes down to the skid plate and it makes an oil change much easier! Also, I installed a stainless steel Scotts oil filter than is reusable. More practical than finding paper filters everywhere…


Glove box bracket:
Those who have removed the glove box once must remember the 12 small screws you need to remove to get the box out of the way. This is stupid and frustrating. I purchased a bracket from Rotweiler that makes it look too easy.

Air intake:
I started by changing the paper air filter to a washable K&N model. Than I added a UNI foam pre filter along with a pre filter skin. They came in a package of 4 and they are easily interchangeable on the fly.

Great site, thanks for taking the time to spread your knowledge. This gave me some good ideas for my 990.
Pingback: Horizons Unlimited - The HUBB·